SpringBoot + Redis + Synology NAS
1. Synology NAS에 Redis 설치하기.
새로운 커뮤니티 패키지를 받기 위해 패키지센터 > 설정 > 패키지소스에서 아래 주소를 추가하자.
설치 및 활성화를 진행하면 실행이 실패할 수 있다. (2번으로)
http://packages.synocommunity.com/
2. Redis 실행 추가 설정.
어떠한 이유로 Redis가 실행이 안되는데,, 아래 경로를 VI에디터로 열어서
var/packages/redis/scripts/start-stop-status
start_daemon() 부분을 수정해주자
start_daemon ()
{
setuid redis
exec /usr/local/redis/bin/redis-server /usr/local/redis/var/redis.conf
}
Redis가동하기전에 보안을 위해 패스워드를 먼저 걸어주겠다.
아래 파일을 VI로 열어 “########SECURITY########” 부분을 찾아서 requirepass 비밀번호 를 추가해준다.
/usr/local/redis/var/redis.conf


################################## SECURITY ###################################

# Require clients to issue AUTH <PASSWORD> before processing any other
# commands. This might be useful in environments in which you do not trust
# others with access to the host running redis-server.
....
...
...
..
requirepass 비밀번호
패키지센터에서 Redis를 다시 가동해주자.
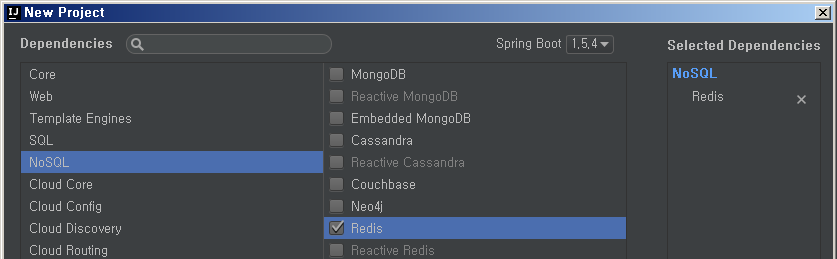
3. SpringBoot + Redis 프로젝트 생성
SpringInitializr를 통해 한번에 생성!
Redis 추가해주기.

Pom.xml에 Jedis를 추가해준다.
<dependency>
     <groupId>redis.clients</groupId>
     <artifactId>jedis</artifactId>
     <version>2.9.0</version>
</dependency>
따로 만들거 없이 메인함수에서 접속 및 데이터 in/out이 잘 작동하는지 바로 간단히 확인해보자.
@SpringBootApplication
public class RedisclientApplication {

	public static void main(String[] args) {
		SpringApplication.run(RedisclientApplication.class, args);
        JedisPoolConfig jedisPoolConfig = new JedisPoolConfig();
        JedisPool pool = new JedisPool(jedisPoolConfig, "nashost.com", 6379, 1000, "1234"); // host, port, timeout, password
        Jedis jedis = pool.getResource();
        //jedis.set("htrucci","connection success");
        System.out.println(jedis.get("htrucci"));

        //List
        jedis.lpush("htrucciList", "황");
        jedis.lpush("htrucciList", "교");
        jedis.lpush("htrucciList", "빈");

        List<String> list = jedis.lrange("htrucciList", 0, 3);
        for(int i=0; i<list.size(); i++){
            System.out.println("Stored List in Redis :: " + list.get(i));
        }
	}
}
레디스 튜토리얼이 아주 잘 나와있는 사이트 – https://www.tutorialspoint.com/redis/redis_server.htm

최근 댓글